Downsizing Tips From A Professional Organizer
Is your home “Out of Sorts?” National organizer, Kirsten Awe, has put together a plan for you! Compliments of Larksfield Place, all new residents moving to independent living receive 10 hours of Kirsten’s time. Downsizing and planning a move is just a process. You CAN do it, and we have the perfect downsizing process outlined for you.
Planning Your First Move
Start Large! Start by placing stickers on all the furniture you’d like to move with you. At this point, think of this as your wish list. This is something you can start today!!! After you figure out where you’ll be moving, you’ll have a better idea of how much room you’ll have for your items. Getting a “to scale” floor plan, furniture measurements and furniture layout will be very helpful in giving you a “roadmap” for the rest of your move.
Pre-Downsizing Prep
- Try to get floor plans or measurements of the home you’ll be moving into. This will help
you figure out how much room you have to work with. This will help you determine what you may or may not take to your new home. - Take measurements of furniture and other large items you want to move with you, so you know if they will fit in your new home.
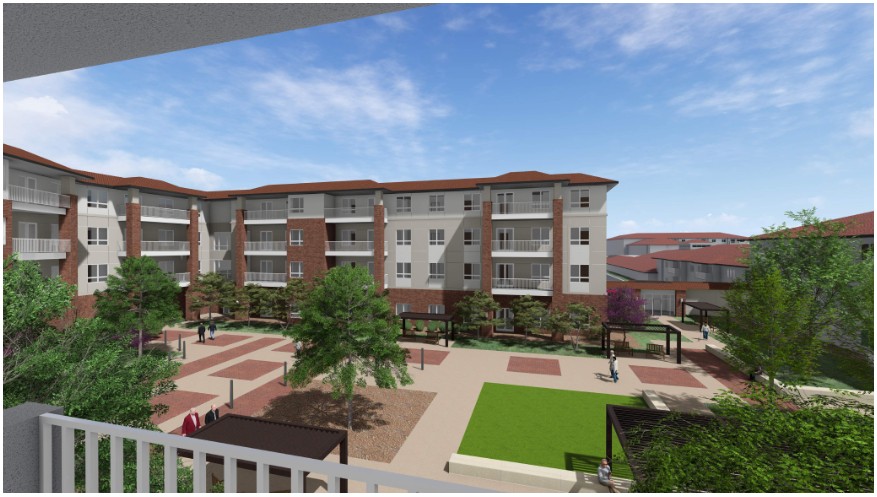
- If moving to a Retirement Community or Life Planning Community such as Larksfield Place in Wichita, Kansas find out what amenities are included.
Examples of this may be:
If your yard area is taken care of, you won’t need your lawn mower and gardening tools.
If housekeeping is provided, cleaning items will be minimal.
If all or some meals are provided, this will help you determine the amount of cookware and dishes you will need.
If there is a gym in the facility, you can minimize the exercise equipment you takewith you.
If transportation is offered, this will help you determine how many vehicles you may need (if any).
Assign a Break/Get-Away Area
Remember, sometimes this can be a stressful process and can be physically and mentally
exhausting. Allow yourself breaks and only work at a comfortable pace. Not only is this a
time for sorting through items, but a time for reminiscing, sharing stories and even
mourning. Be gentle with yourself!
Assign an area as your “break/get-away area”. This is where you can go when you feel a little
overwhelmed, stressed or just need time to relax. Try to keep this area as clear as possible
(remember, this is where you want to be able to get away from it all).
Items you may want in your break room include:
- A place to sit down and relax
- Snacks
- Drinks (be sure to drink plenty of water)
- Music
- Note pad and pencil (sometimes “downtime” is when your brain kicks into high gear and
- you start remembering things you need to do).
- Kleenex
Once You Downsize You Will Want To Decorate Your New Space,
Don’t Forget To Take Pictures!
Before you even get started, get your camera out and start taking pictures! Investing in a couple of
disposable cameras (with flash) specifically for this use will keep all your pictures together and in one
place. Make sure you get shots of every room (including attics, garages, basements, patio and garden
area) and at various angles, to show everything. This is a part of who you are and can include things
you might enjoy looking back on once you get moved and settled into your new home.
If you love how you have your house decorated, pictures will provide a roadmap of how you can
set-up your new home.
Pictures will also help ease the emotional element of letting items go that you won’t be able to take
with you. Having photos of beloved items will enable you to still enjoy them!
Gather All Needed Items In Storage Bins To Stay Organized
Gather items you will need to pack with and keep them together in one place. A nice size storage
bin is perfect for downsizing (you will also need to have it handy when moving into your new home). It is
best to keep this in the kitchen area so you are close to a telephone, soap, water, etc…
Packing supplies
- Packing Tape
- Sturdy Boxes in Various Sizes
- Heavy Plastic Bags
- Colored Markers
- Roll of Clean Newsprint Paper
- Bubble Wrap
- Large Blank Labels
- Multicolored Dots For Organization
Misc Items
- First Aid Kit
- Camera
- Tape Measure
- Paper and Pencil
- Light Bulbs
- Utility Knife
- Screwdriver
- Paper Towels
- Toilet Paper
- Tape
- Telephone Book
- Sticky Notes in Various Colors
Select A Room For Items For Sure Not Moving With You
- Start with an unused room or out of the way area. This room will be used to put items you no longer need/want for distribution
- Divide the room up into the (2) Zones … Let Go and Sell. You will see a natural pattern start in these two areas, which will then divide the two zones into sub-zones (as shown below)
- Each sub-zone can then have their own categories (as shown below)
Items To Let Go/Giveaway (Zone 1)
Have a clear plan on how to handle distributing items to family members.
(see “Family Distribution Ideas” for more information)
- Family (Sub-Zone)
- Daughter 1
- Daughter 2
- Son 1
- Son 2
- Cousin 1
- Aunt 1
- Friends (Sub-Zone)
- Friend 1
- Friend 2
- Friend 3
- Charity (Sub-Zone)
- Charity 1
- Charity 2
- Charity 3
- Recycle (Sub-Zone)
Items To Sell (Zone 2)
- Estate Sale (Sub-Zone)
- Garage Sale (Sub-Zone)
- Consignment (Sub-Zone)
- Internet (Sub-Zone)
Just Not Sure (Zone 3)
Try not to use this at all or as little as possible. Sometimes you just need to
come back to something after some time has elapsed*
Select A Room To Start With
Choose a room that is less complicated and emotionally charged.
- Have a large box to place unwanted/un-needed items in. When you are finished with the room you are working on, you can take the box to the “Items to let go of/sell” room and place in the proper “zones”.
- Have a large sturdy trash bag ready for trash.
- Have several boxes ready to pack & all your packing supplies.
- Start with larger items 1st (such as furniture).
- Place colored dots on all pieces of furniture that are moving with you (correspond dot color with room – see below), or instead of colored dots, you can also use labels with room names written on them.
- Move around the room in a methodical pattern so you don’t miss anything.
- Pack items in boxes that are moving with you.
- Place color coded sticker on the box, or write name of room on the box.
- Be sure to write “fragile” in red marker on boxes as needed.
- Number the box – listing items that are in each box.
- Write down the box number on your inventory sheet and list items that are in each box.
Colored dot examples:
o Master Bedroom – Blue Dot
o Master Bathroom – Blue Dot with X
o Guest Room – Yellow Dot
o Guest Bath – Yellow Dot with X
o Kitchen – Orange Dot
o Living Room – Pink Dot
o Dining Room – Green
o Office – Orange with X
o Garage – Green with X
o Storage – Pink with X
Closing Downsizing Tips For The Last Steps
- Take pictures of your home before you start sorting. This will help you remember how your home was and help you re-create any rooms you absolutely loved.
- Take pictures of cherished items, but aren’t able to take with you.
- Remove photos from frames and place in photo albums
- Scan photo’s and make DVD’s
- It’s o.k. to break-up sets. Take two place setting of your favorite china instead of six; take four setting of silverware instead of eight. Take your loveseat but get rid of the matching couch.
- Use the “good stuff”. Don’t wait for that special occasion to happen. Enjoy it now!
- Cut a swath out of an article of clothing instead of keeping the whole thing. Put it with the corresponding wedding invitation, graduation announcement, etc…
Family Distribution Ideas For Distributing Items
This is the perfect time to give family members items you would like them to have. Please
make sure they would like to have the items before you give it to them, and remember, once
it’s given to them it’s theirs… they can do with it as they like.
It would be nice to write down a little something about the items and mention why you want
that specific person to have it and what it means to you.
Stickers:
Assign a color for each family member (try to keep to immediate family only). Siblings can
walk through the home placing their color coded dots on items they want. If more than one
dot ends up on one item, try to negotiate, draw straws, etc…
Take Turns:
You can use a number of methods, go through rounds until everything is sorted. Here are some examples:
- Oldest to Youngest
- Draw Straws
- Coin Flip
Furniture
- Choose to keep furniture that can serve more than one function.
- Choose furniture that you can use to store items.
- Choose furniture that is of a smaller scale.
Kirsten Awe
Professional Organizer